
#twrp #root#smartisanu3 #directions #android
root並安裝Smartisan U3的TWRP恢復
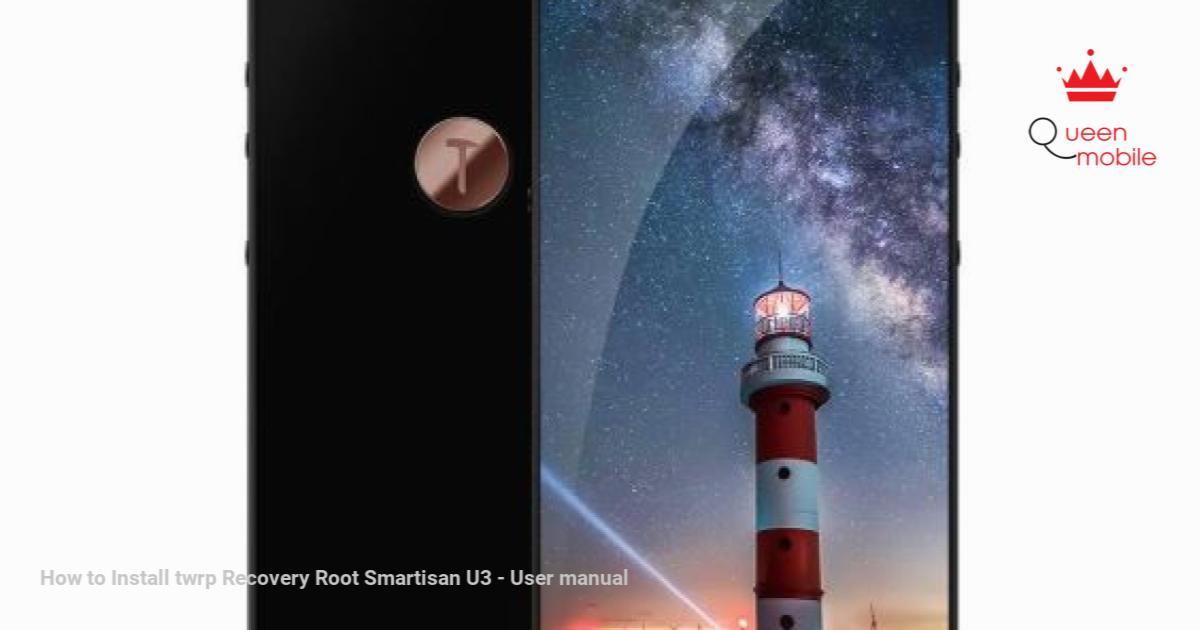
TWRP恢復已正式為Smartisan U3發布,為定制和改善設備性能提供了完美的解決方案。在本文中,我們將詳細介紹您,並在Smartisan U3上安全有效地安裝TWRP恢復。
###為什麼要安裝TWRP恢復和root Smartisan U3?
– TWRP恢復:允許您備份,還原系統,安裝自定義ROM並執行許多其他高級任務。
– 根:解鎖整個系統訪問,幫助您自定義更深入,刪除膨脹軟件,提高性能和電池壽命。
###實施前準備
1。數據備份:root和TWRP設置可以在設備上刪除數據。備份一切都很重要。
2。充電電池充電:確保電池超過70%,以避免實施過程中發生事件。
3。必要工具的負載:
– Smartisan U3的TWRP恢復圖像。
– ADB和FastBoot工具。
-Magisk(紮根設備)。
###安裝TWRP恢復和root Smartisan U3的步驟
####步驟1:解鎖引導程序
1。通過將7次單擊“關於電話”部分中的構建數量來激活開發人員選項模式。
2。打開開發人員選項中的OEM解鎖和USB調試。
3。通過USB和打開命令提示或終端將手機連接到計算機。
4。
““`
ADB重新啟動引導程序
““`
5。當設備輸入fastboot模式時,請輸入命令:
““`
FastBoot OEM解鎖
““`
6。確認手機屏幕上的引導加載程序解鎖。
####步驟2:安裝TWRP恢復
1。根據Smartisan U3下載TWRP恢復圖像文件。
2。將手機放在快速啟動模式下,然後連接到計算機。
3。輸入命令:
““`
fastboot flash恢復twrp.img
““`
4。從命令開始以TWRP恢復開始:
““`
FastBoot重新啟動恢復
““`
####步驟3:帶有Magisk的根設備
1。下載magisk.zip文件,然後將其複製到手機的內部內存中。
2。在TWRP恢復中,選擇“安裝”並查找magisk.zip文件。
3。幻燈片以確認設置。
4。完成後,重新啟動系統。
###重要說明
– 根和TWRP安裝過程可能會導致設備保修的丟失。
– 確保按照說明避免錯誤或將設備磚磚。
借助TWRP恢復和根源權,您可以充分利用Smartisan U3的潛力。小心,享受習慣的Android體驗!
#smartisanu3 #androidcustmization #magisk #TechGuide
如何安裝TWRP恢復root Smartisan U3
根TWRP Smartisan U3:
TWRP恢復 現在發布 Smartisan U3 最後,我們有一個解決方案。因此,今天我們將討論這個話題。在主題中,我們將分享一個完整的根指南 Smartisan U3 通過使用Suprersu和恢復。
許多人使用 Smartisan U3 但是很少有人知道紮根電話。因此,該AMOM的文章不知道如何知道 根。 根本不是所有人必需的,但它需要實現設備的一些提前功能。
經過 生根 您可以更好地改善手機的性能。但這對紐比也很危險。您可以從此處獲取有關“ Android root”的完整信息。我們可以以兩種方式使用計算機以兩種方式紮根手機,而另一台則使用計算機紮根。但是 Smartisan U3 沒有計算機就無法髮根,因此您必須擁有PC來紮根。讓我們開始開始過程。
筆記-
1。本指南僅在列出的設備上工作。因此,請在任何其他手機上嘗試一下。
2。刷新ROM將刪除您的所有數據,因此必須在閃爍之前創建個人數據的備份,
3。請小心,我們對任何損壞,靴子或死卡不承擔任何責任。
4.確保您的設備在閃爍過程中至少50%充電,以停止意外關閉。
5。正確按照所有步驟操作,否則會導致Bootloop。
TWRP恢復的功能:
- 您可以在
- 您可以閃爍改裝zip文件以自定義手機
- 易於閃爍並使用TWRP使用Xposed模塊
- 易於紮根,使用TWRP恢復閃爍的Zip supersu
- 您可以在Magisk上安裝
- 在任何改裝或閃爍的情況下,您始終可以進行完整的Nandroid備份。
- 輕鬆訪問恢復Nandroid備份。
- 您可以使用TWRP恢復刷新圖像文件
- 易於使用TWRP Recovery易於刪除所有膨脹軟件
- 下擋板和超頻。
- 您可以清除擦除,緩存和數據。
必須需要:
1。備份NVRAM
2。備份您的個人數據
3。創建一個Nandroid備份
下載-
提取前:
- 解鎖的引導加載程序(在下面使用指南)
- PC和USB
- ADB工具設置,下載並在文件夾中提取。
- 將恢復文件移動到ADB文件夾(必須重命名(recovery.img)
- 安裝ADB快速啟動驅動程序
- 啟用USB調試和OEM解鎖
如何在Smartisan U3-上安裝TWRP恢復 –
步驟1。 從上面下載TWRP恢復,然後在ADB文件夾中提取(也從上下載並提取)
步驟2。在PC上下載並安裝ADB FastBoot驅動程序
步驟3。 然後按照波紋管說明,
步驟4。 轉到設置>關於電話>鍵入7個時間構建號碼> Back>“ Back”選項,並啟用設備調試和OEM解鎖。
步驟5。 現在,在PC上安裝正確的ADB和FastBoot驅動程序(跳過),轉到ADB文件夾(在上述步驟中提取)連接 裝置 在此處使用USB打開CMD並鍵入命令。
adb reboot bootloaderStep 6. Your Device Booted in Fastboot Mod To check Device connectivity typefastboot devicesStep 7. Unlock bootloader: fastboot oem unlock
fastboot flashing unlock Step 8. Rename twrp to recovery.img and Move it in adb Folder(if Done skip it), Flash twrp on Smartisan U3 using below Code:fastboot flash recovery recovery.imgReboot Smartisan U3 to twrp using This Code: fastboot boot recovery.imgStep 9. Recovery is Now Flashed (installed) Your Phone also booted in twrp Make a System Reboot. or Flash zip if you Want.
Step 10. DoneHow to Root Smartisan U3-
Step 1. Download Magisk/superSu From above and Save it to Device storage (internatl/ external).
Step 2. Switch of phone and Press power and volume up button to boot Device into twrp (Installed in above Step) or use code adb reboot recovery Step 4. Go to wipe tab and Do a factory Reset.only Do a factory Reset Do’t include other partition’s. Step 5. Go to Install tab and Locate Download SuperSu.zip and confirm Install, wait For Success Done. Step 6: again to Install tab locate No verity Disabler.zip and Confirm Install. Done Reboot system Now. Nguồn: https://manualmentor.com/how-to-install-twrp-recovery-root-smartisan-u3.html?utm_source=rss&utm_medium=rss&utm_campaign=how-to-install-twrp-recovery-root-smartisan-u3Root twrp Smartisan U3:
twrp Recovery now Released For the Smartisan U3 and Finally We have A Solution to it. So that today we will talk about this topic. In the topic We are going to Share a Complete Guide to Root Smartisan U3 by using the SuperSU and Recovery.
Many peoples use Smartisan U3 but few people know about rooting the phone . So the article For that Whom does Not Know How to Root. Root is Not Necessary for all Peoples but it Require to achieve Some advance features of the Device .
by Rooting the Phone You can improve Your phone’s performance even better. but it also Dangerous for Newby. You can get the full information about ” Android root ” from Here. We can root our phone in two ways First one using the Computer and other one Without using the Computer. but The Smartisan U3 is Not Rootable without a Computer So You Must have a PC to Root it. Let’s get Start The process.
Note-
1. This Guide is Work only on Listed Device. So please Don’t try it on any other Phone.
2. Flashing The ROM Will Erase all your Data, So Must create a backup of your Personal data before Flashing,
3. Please Do carefully, We are not Responsible for any damage, bootloop, or dead SD card’s.
4. Ensure that your Device at-least 50% charge During Flashing Process,to Stop the Accidentally Shut Down.
5. Follow all steps correctly otherwise it Will cause bootloop.Features of TWRP Recovery:
- 您可以在
- 您可以閃爍改裝zip文件以自定義手機
- 易於閃爍並使用TWRP使用Xposed模塊
- 易於紮根,使用TWRP恢復閃爍的Zip supersu
- 您可以在Magisk上安裝
- 在任何改裝或閃爍的情況下,您始終可以進行完整的Nandroid備份。
- 輕鬆訪問恢復Nandroid備份。
- 您可以使用TWRP恢復刷新圖像文件
- 易於使用TWRP Recovery易於刪除所有膨脹軟件
- 下擋板和超頻。
- 您可以清除擦除,緩存和數據。
必須需要:
1。備份NVRAM
2。備份您的個人數據
3。創建一個Nandroid備份
下載-
提取前:
- 解鎖的引導加載程序(在下面使用指南)
- PC和USB
- ADB工具設置,下載並在文件夾中提取。
- 將恢復文件移動到ADB文件夾(必須重命名(recovery.img)
- 安裝ADB快速啟動驅動程序
- 啟用USB調試和OEM解鎖
如何在Smartisan U3-上安裝TWRP恢復 –
步驟1。 從上面下載TWRP恢復,然後在ADB文件夾中提取(也從上下載並提取)
步驟2。在PC上下載並安裝ADB FastBoot驅動程序
步驟3。 然後按照波紋管說明,
步驟4。 轉到設置>關於電話>鍵入7個時間構建號碼> Back>“ Back”選項,並啟用設備調試和OEM解鎖。
步驟5。 現在,在PC上安裝正確的ADB和FastBoot驅動程序(跳過),轉到ADB文件夾(在上述步驟中提取)連接 裝置 在此處使用USB打開CMD並鍵入命令。
adb reboot bootloaderStep 6. Your Device Booted in Fastboot Mod To check Device connectivity typefastboot devicesStep 7. Unlock bootloader: fastboot oem unlock
fastboot flashing unlock Step 8. Rename twrp to recovery.img and Move it in adb Folder(if Done skip it), Flash twrp on Smartisan U3 using below Code:fastboot flash recovery recovery.imgReboot Smartisan U3 to twrp using This Code: fastboot boot recovery.imgStep 9. Recovery is Now Flashed (installed) Your Phone also booted in twrp Make a System Reboot. or Flash zip if you Want.
Step 10. DoneHow to Root Smartisan U3-
Step 1. Download Magisk/superSu From above and Save it to Device storage (internatl/ external).
Step 2. Switch of phone and Press power and volume up button to boot Device into twrp (Installed in above Step) or use code adb reboot recovery Step 4. Go to wipe tab and Do a factory Reset.only Do a factory Reset Do’t include other partition’s. Step 5. Go to Install tab and Locate Download SuperSu.zip and confirm Install, wait For Success Done. Step 6: again to Install tab locate No verity Disabler.zip and Confirm Install. Done Reboot system Now.

探索更多來自 Gizmo Review 的內容
Subscribe to get the latest posts sent to your email.